
Machines are high-performing computing for scaling AI applications.
After you log in to the console, select CORE from the product dropdown and click the CREATE A MACHINE button.
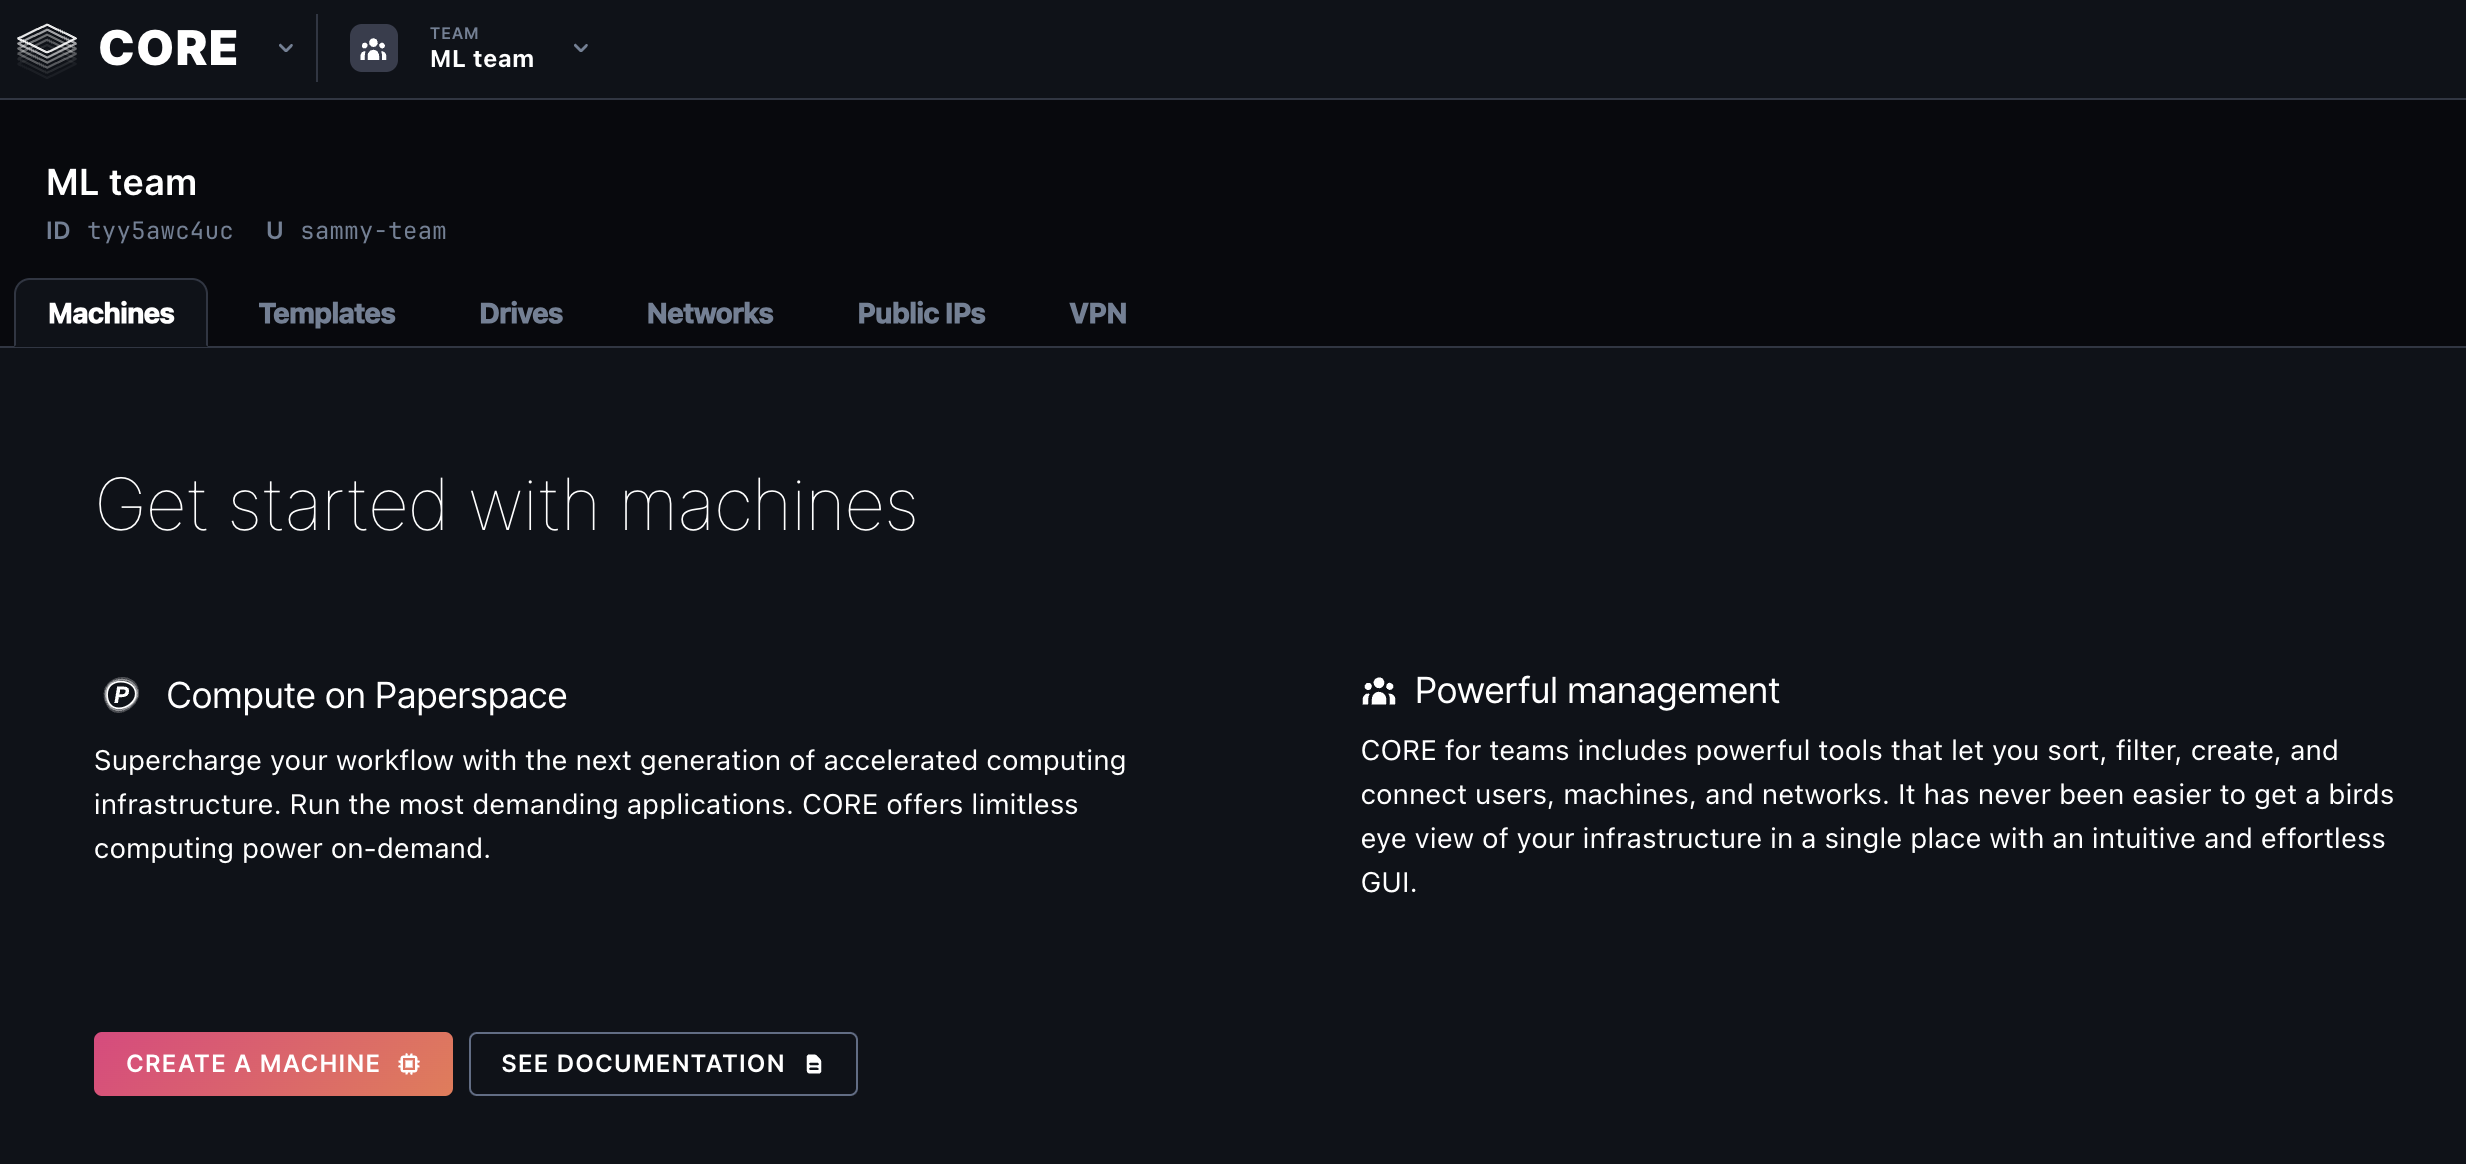
On the Create a new machine page, you choose the machine type, the machine configuration, such as its operating system (OS), and features such as Snapshots or Public IPs to enable.
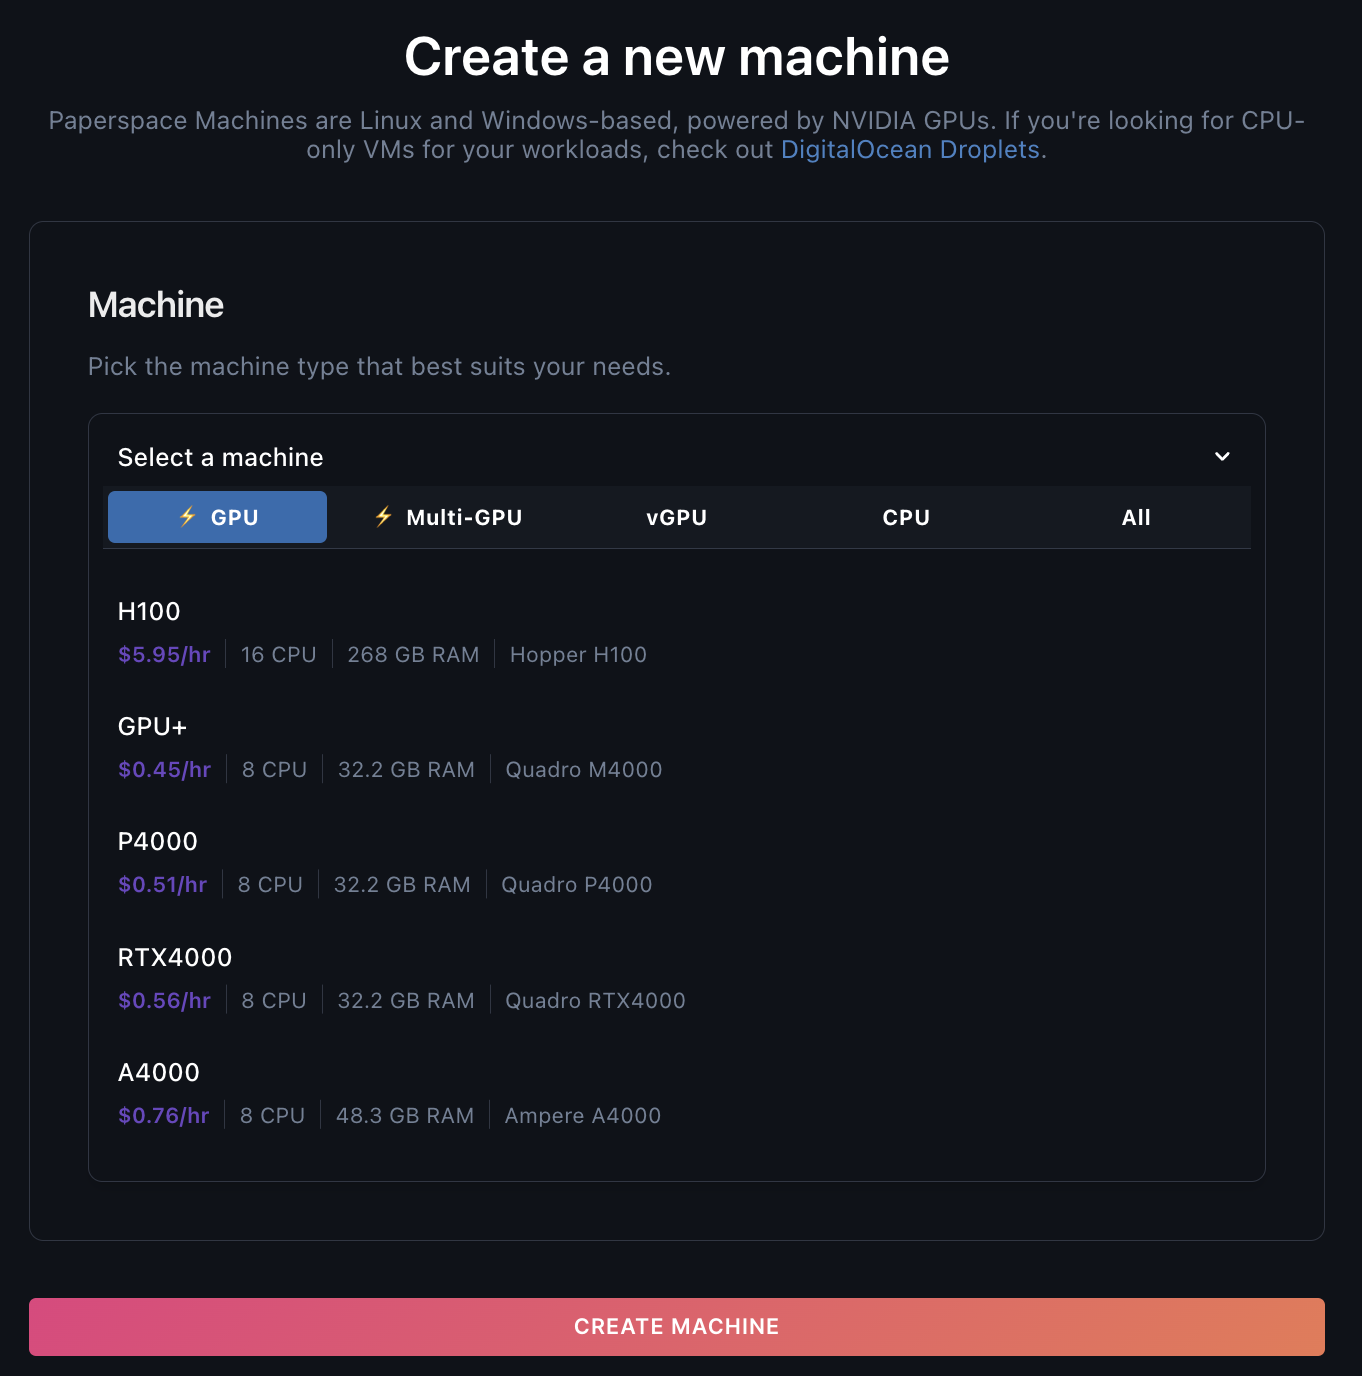
In the Machine section, select the machine type from the Select a machine dropdown list. You can select a GPU, Multi-GPU, vCPU, or CPU machine. The machine types list contains the name, the high-level specifications, and price. You can learn more about machine types here and their performance.
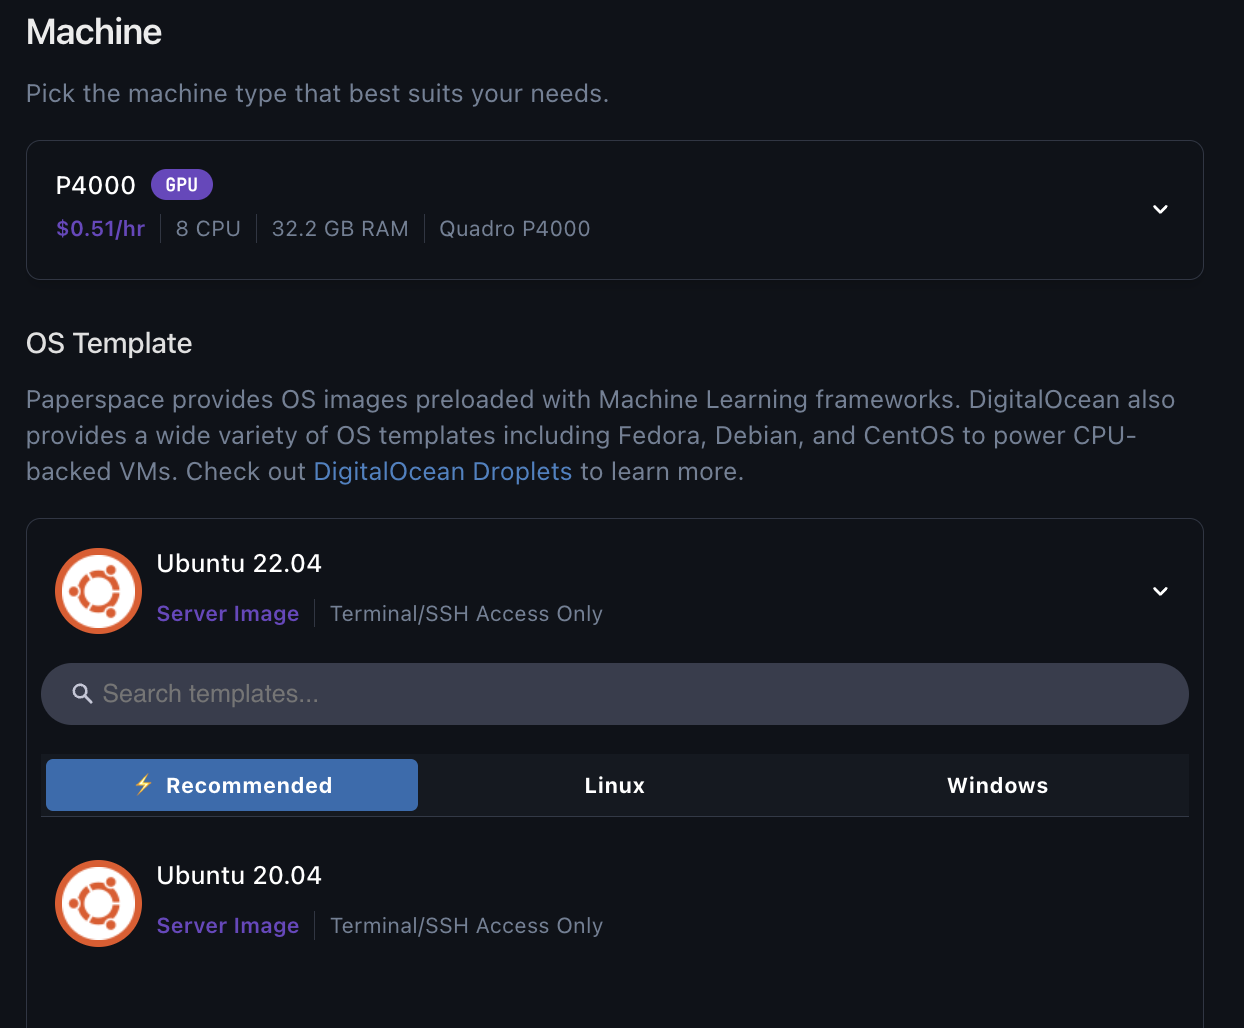
After you select a machine, choose the OS template to use for creating your machine. You can choose from one of the following categories:
Recommended: Set of popular templates within Paperspace.
Linux: Basic Unix-like images with no additional software.
Windows: Basic Windows OS versions with no additional software.
You can use the recommended default template or select a Linux or Windows template.
Next, select the size of the block storage volume to attach on your machine from the Disk size dropdown. You can choose sizes ranging from 50 GB to 2 TB. Then, specify a name for your machine in the Machine name field.
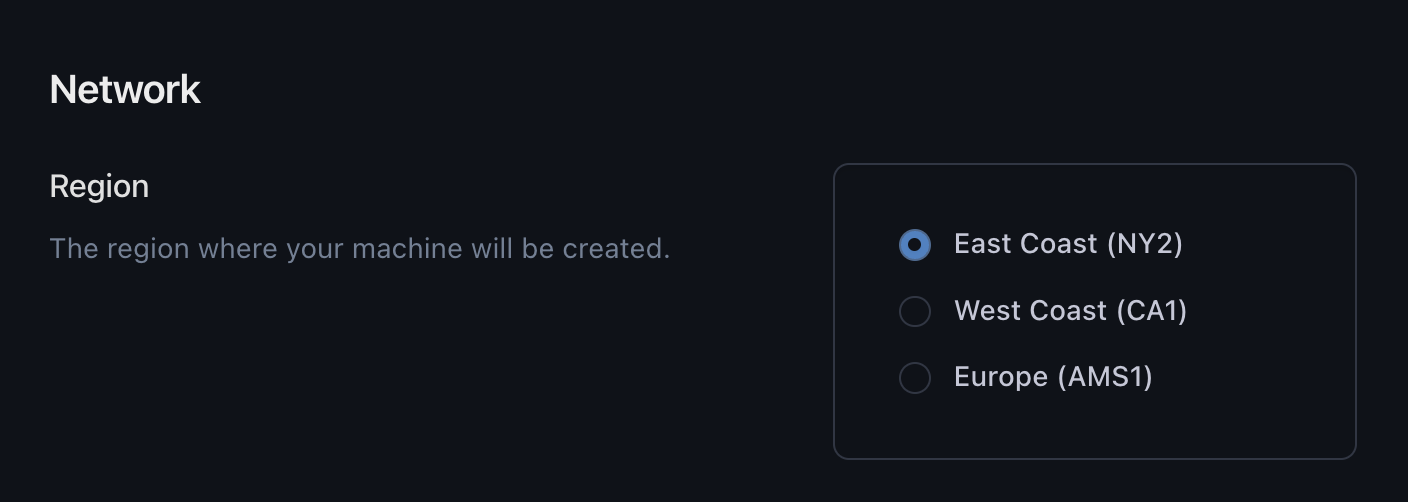
In the Region section, select the region where you want to create your machine. For the best performance and minimal latency, choose the datacenter region nearest to you. You can also choose a machine based on the machine’s availability in a region.
To enable connections over the internet, add a public IP address to your machine. You can choose between the Dynamic, Static, or None options. If you choose None, your machine is only accessible privately or via the desktop app if you’re using Windows streaming.
By default, your machine is created in a default network which prohibits private communication with other machines, including machines that you own. This option provides you the ability to add your machine to a private network. If you previously created a private network, you can select it from the Private network dropdown.
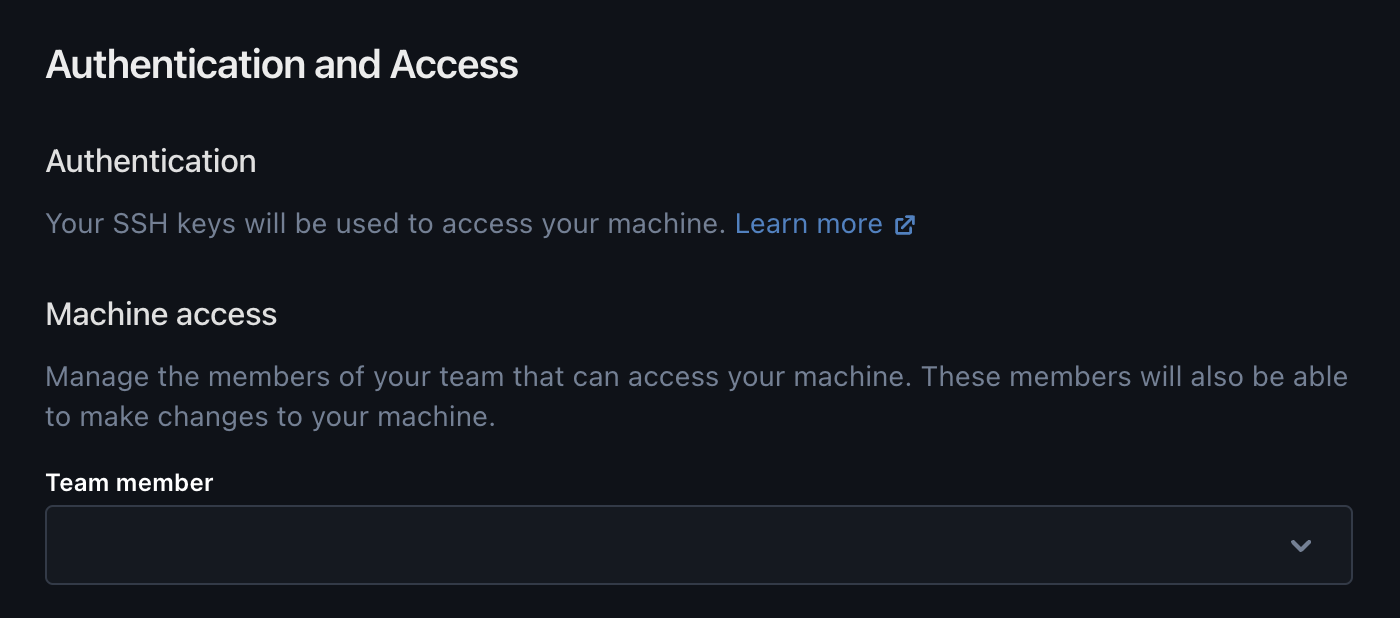
When you create a Linux template, you must use your SSH keys to access your machine. SSH Keys are more secure than passwords. If you do not have a SSH key, you can create and add one as described in Add SSH Keys.
If you have a team and invited other users, you can add them to access the machine. To add an accessor, in the Machine access section, select the team member from the Team member dropdown. For more information, see managing access.
For team members having access to this machine, existing keys in their accounts are automatically added to the machine during provisioning.
To create automatic system-level backups of your machine, in the Snapshots section, choose the frequency to take snapshots in the Snapshot frequency dropdown and the number of snapshots you want to save in the Snapshots to store dropdown. You can learn more about snapshots here.
For Windows machine, auto-shutdown detects when your machine is idle and lets you set your machine to power off after being idle for a specified period. Auto-shutdown initiates a stop event after a predefined amount of time. To learn more about machine states, see Machine States and Error Codes.
In the Auto Shutdown section, specify the period after which the machine shuts down. You can choose a period ranging from 1 hour to 1 week or to never shut down the machine. You can use this feature with Windows streaming. On Linux machines, we cannot detect an active connection. For example, when using SSH, the machine shuts down after the time limit is reached, regardless of whether you are connected or not. You can learn more about auto-shutdown here.
By default, the machine starts immediately after provisioning completes. This initiates a start event after provisioning completes. Once the machine starts you can then access it. To learn more about machine states, see Machine States and Error Codes.
If you do not want the machine to start immediately, in the Starting State section, toggle the Start immediately option. You need to start the machine manually after provisioning completes to access it.
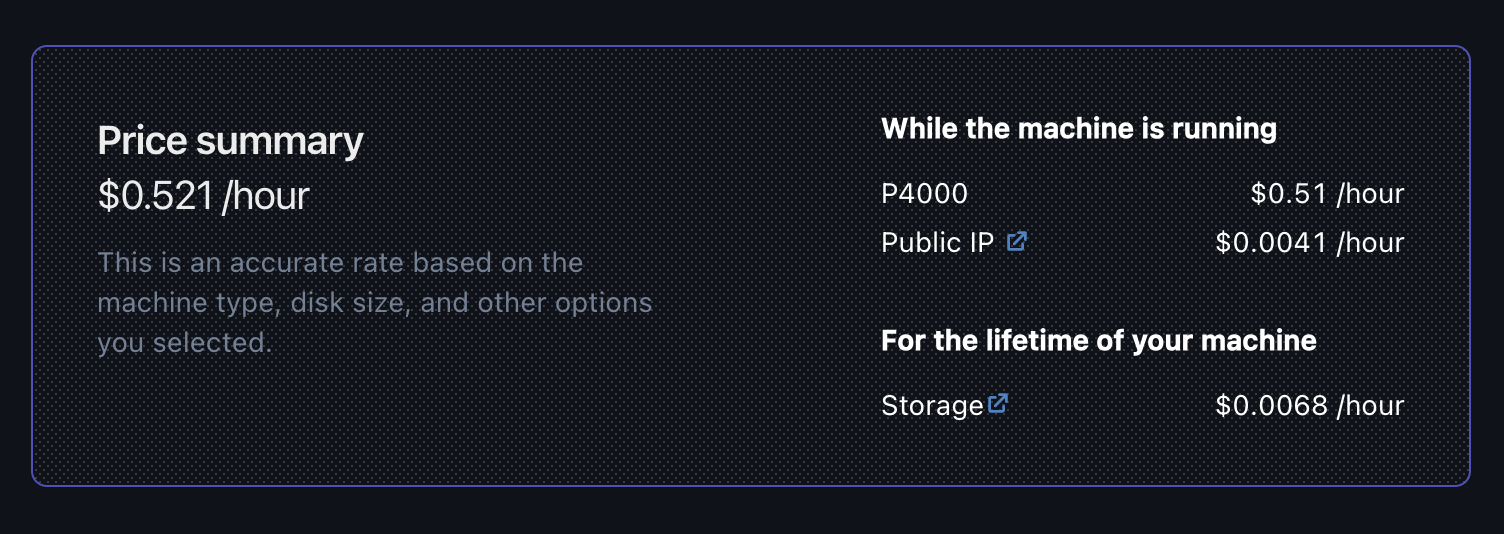
In the last step, you see the cost breakdown of each item that gives you an overview of the machine’s hourly usage cost.
Click the CREATE MACHINE button to start provisioning your machine. Provisioning typically takes about 1 minute on Linux and about 3-5 minutes on Windows. If you set the machine to start after provisioning is complete, you can access it after it starts.