
Machines are high-performing computing for scaling AI applications.
Windows provides tools that allow users to share files between different devices such as Remote Desktop Protocol (RDP). RDP is a tool that provides users a method to connect and control a computer from a remote location through the internet.
Using RDP only works on Windows-based Core Virtual Machines (VMs). Your local machine must have a client app that’s compatible with Microsoft’s RDP installed.
To access your Core VM, go to the Paperspace console. On the left-hand side, click the dropdown menu and select CORE.

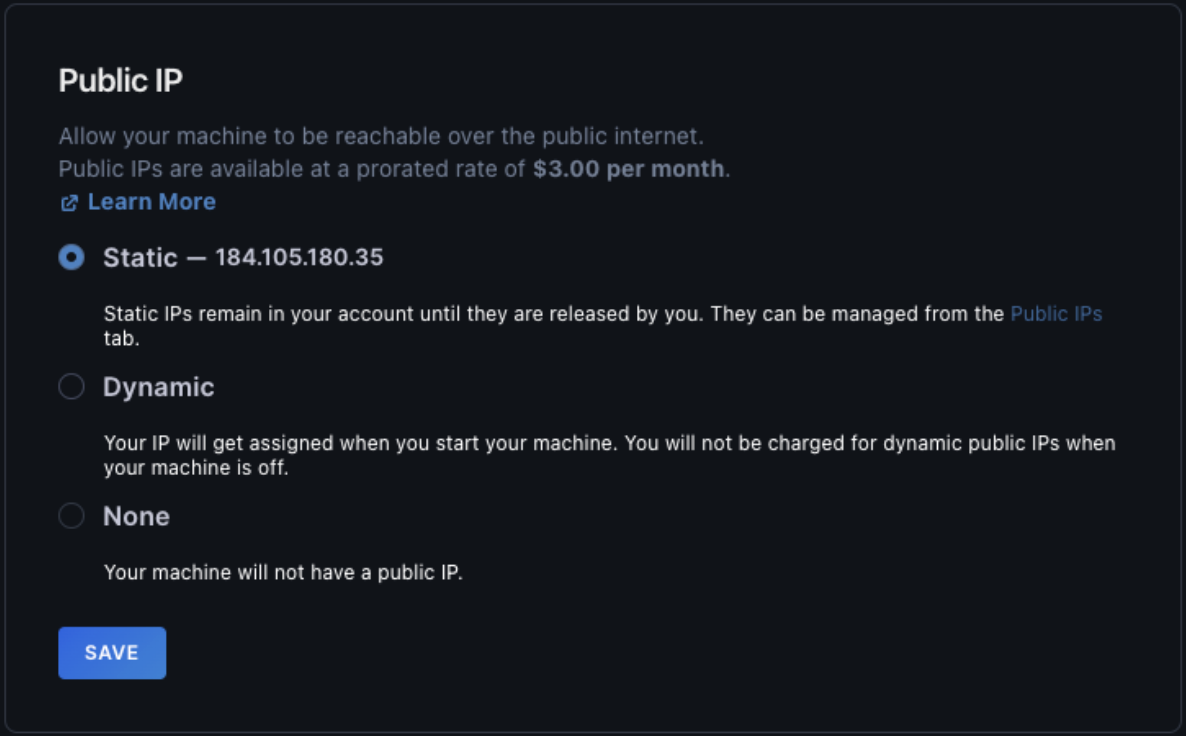
If your Core VM doesn’t have a public IP address yet, first assign one by following our guide, How to Assign a Public IP.
All Windows-based machines have Microsoft’s RDP as a feature. But for it to work correctly, you need to set a machine you want to connect to remotely as a server. In the CORE section of your Paperspace console, under the Machines tab, select the Core VM you want to remotely connect to and click START.

Once your machine is on, under Stream your desktop section, click Open Desktop to get access to your VM’s desktop.

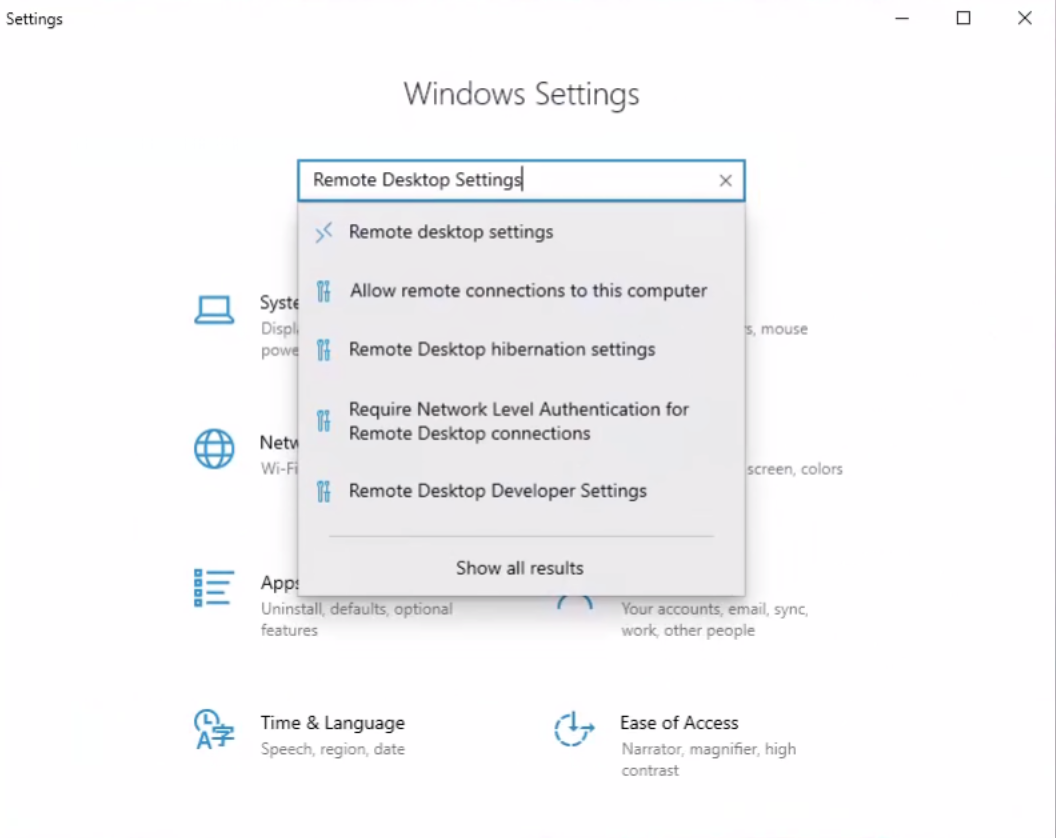
Once in your VM’s desktop, go to the search bar, search “Settings,” and click Settings. Then, on the Windows Settings in the search bar, type “Remote Desktop Settings” and click Remote desktop settings.
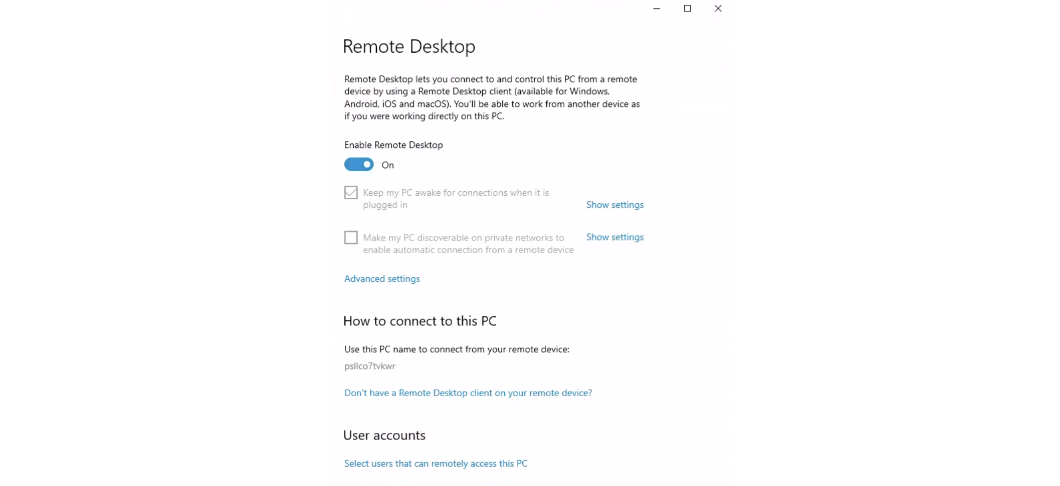
On the Remote Desktop window, ensure that Enable Remote Desktop is enabled by toggling On. Then, under User accounts sub-section, click on Select users that can remotely access this PC.
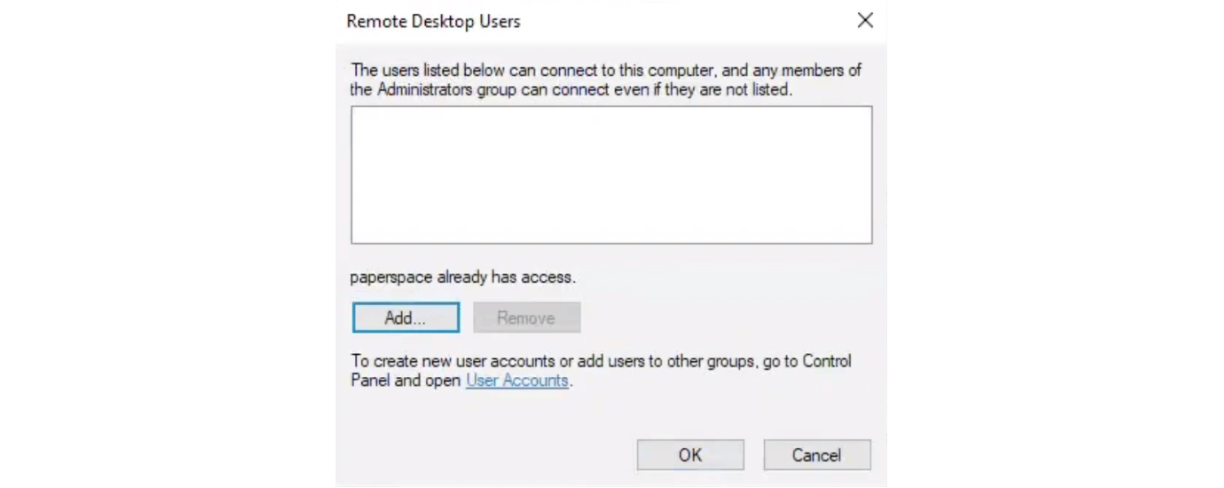
On the Remote Desktop Users window, click Add… to add a Desktop user such as the default user paperspace to the list of users that can account to your machine.
When the Select Users window appears, under Enter the object names to select section, type the username you want to add, such as the default user paperspace. Afterwards, click Check Names to find the user. If the user is not visible, you need to either use a different user or check for any errors when you typed the username.

If the user is correctly identified, the username should change to the VM’s ID followed by the username. If the username is present and correct, click OK.

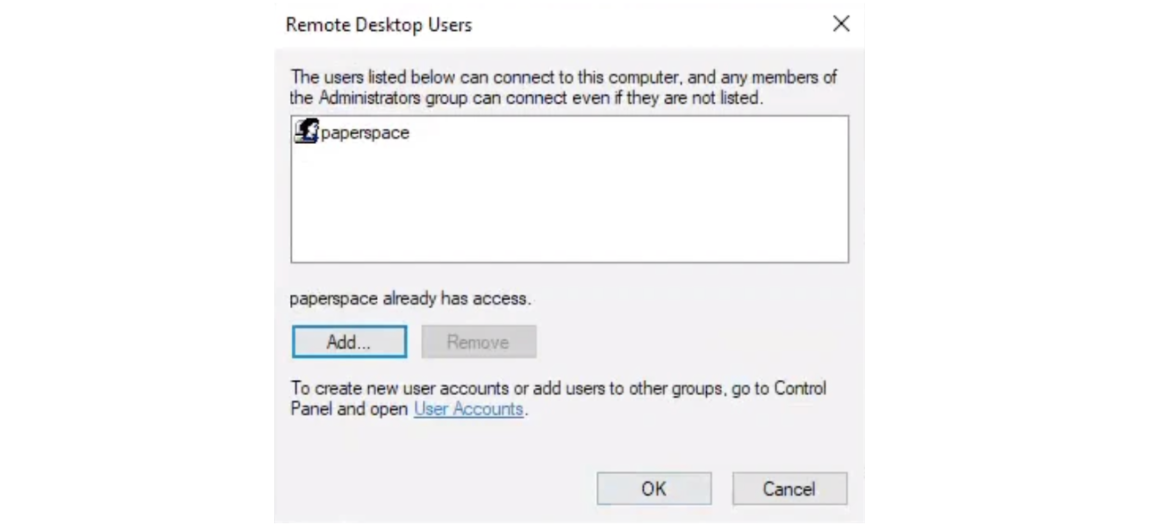
After returning to the Remote Desktop Users window, you should see the user you added on your remote desktop access list. Then, click OK.
You need your server VM turned on, so that you can connect to it via RDP. You need following information to set up the client machine.
paperspace, get the default user’s password. To retrieve the default user’s password, follow our guide, How to Manage User Privileges on Linux and Windows Machines.In the desktop’s search bar, type “Remote Desktop Connection” and select the application. Then, on the Remote Desktop Connection window, type the public IP address of your machine.
Then, under the Machines tab on your NVIDIA GRID machine dashboard, click Settings. Under the General section, go to the Public IP subsection and enter your NVIDIA GRID machine’s public IP address; for example, 184.105.180.35. You can retrieve your NVIDIA GRID machine’s public IP address by visiting What Is My IP Address on your browser.
After you type in your public IP address for your machine, click Connect.

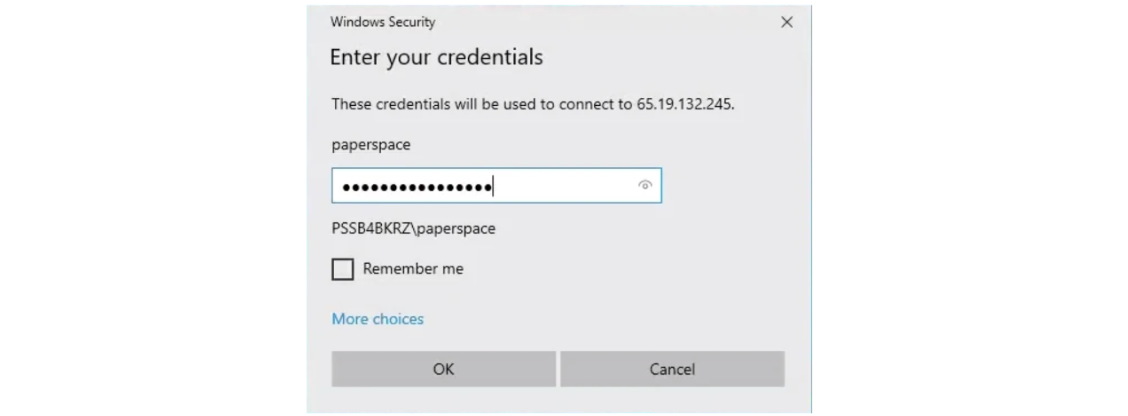
Type the password you set for your machine, then click OK.
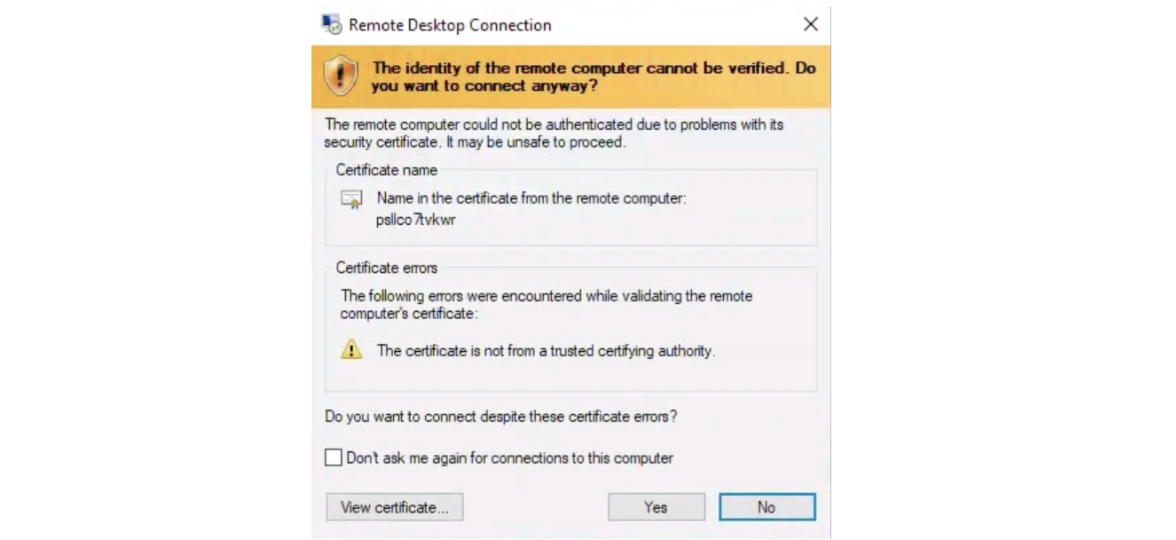
On the Remote Desktop Connection window, click Yes to accept the server’s certificate.
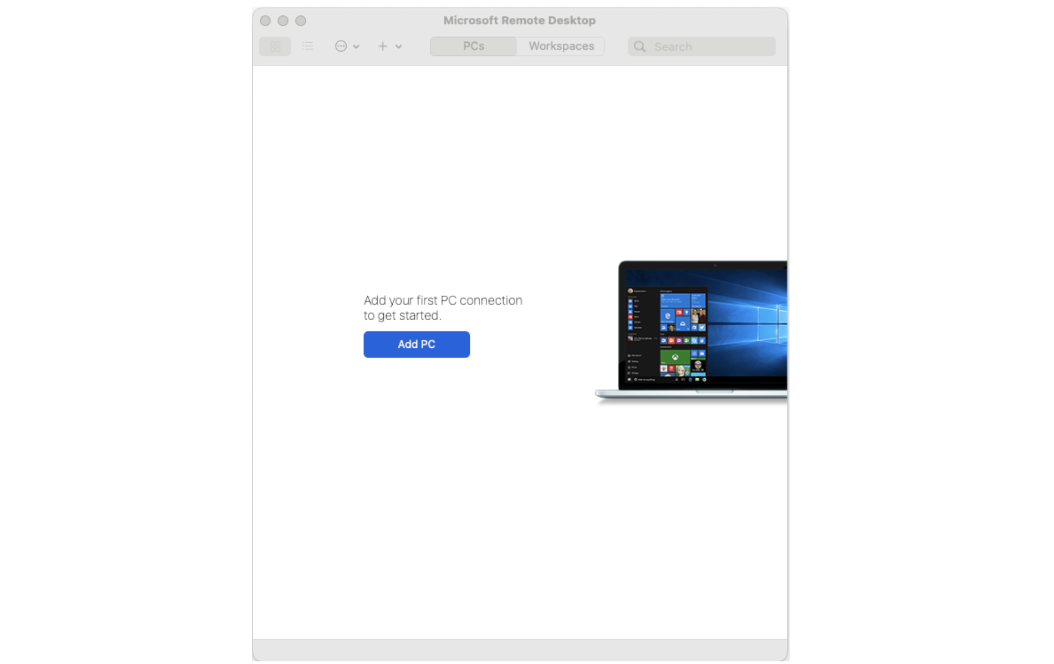
To use Windows RDP on macOS, you first need to download the official Microsoft Remote Desktop app by Negocios from the Apple App Store. After downloading the app, launch the app, and on the Microsoft Remote Desktop app’s dashboard, click Add PC.
Then, on the Add PC window, type your machine’s public IP address from earlier under PC name, and click Add.
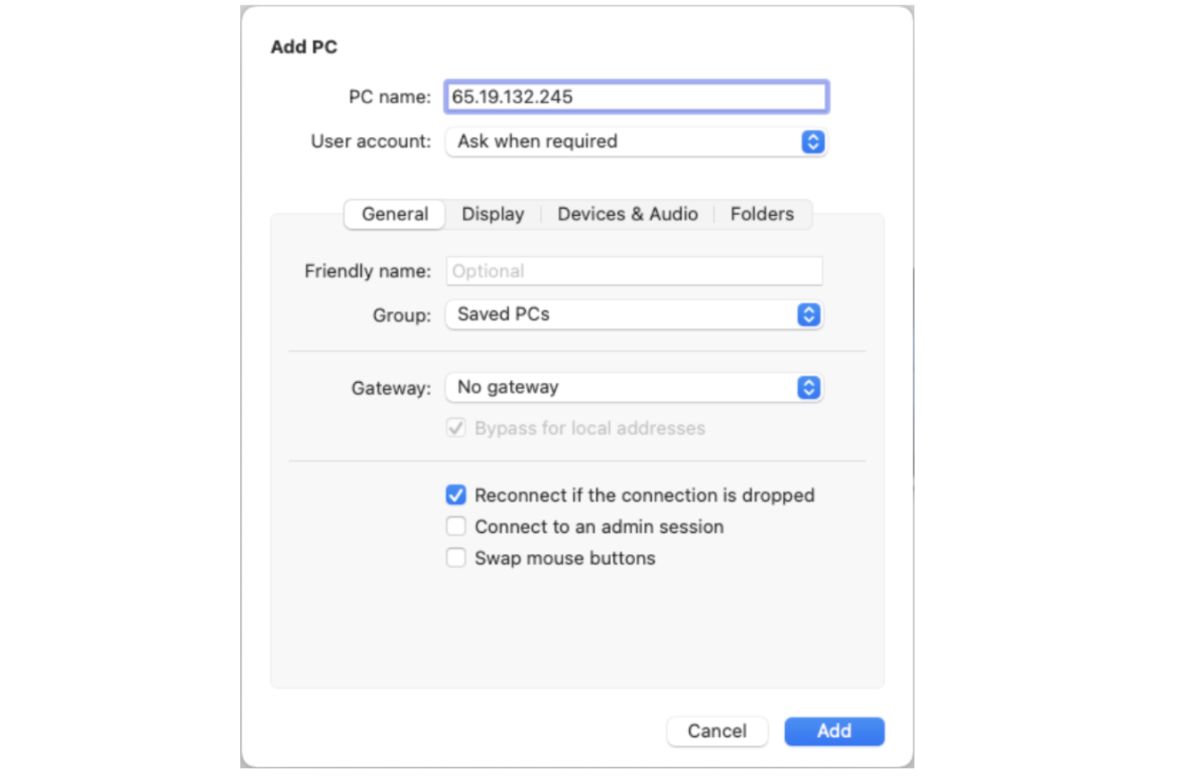
After adding your machine, on your Microsoft Remote Desktop app’s dashboard, your machine is visible. Double-click on your machine.
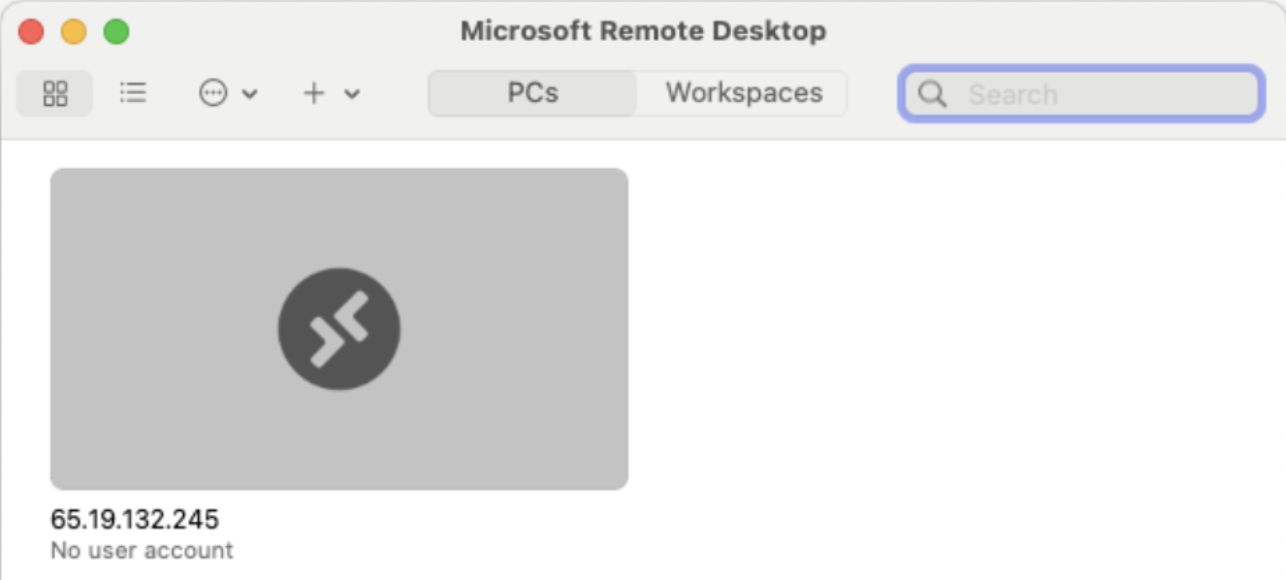
Then, on the Enter Your User Account window, type the username and password you previously set, then click Continue.

Lastly, in order to move your files between the machines you previously configured, the RDP server and RDP client, copy your file(s) from where they were originally stored on your RDP server, such as your Desktop folder. Then, paste them in your desired directory in your RDP client. For example, from the RDP server, if you wanted to move a file called “test file” from your Desktop folder, copy the file, then go to your RDP client, and paste it into your desired folder, such as the RDP client’s Desktop folder.